Category Archives: Configuration

CM 2012 – Application Catalog – Color Themes

For this article, I decided to write about something a little lighter… color choices within the CM 2012 Application Catalog.  If your company likes to have a specific color dominant within corporate websites, perhaps you can preemptively change the color theme of your Application Catalog to match this color before you are asked to do so.

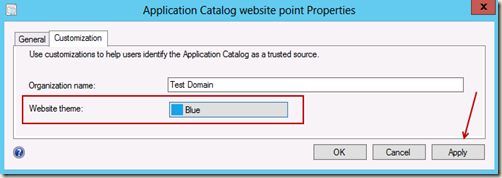
If you navigate to the properties page of the Application Catalog website point and then select the Customization tab, you will see a line labeled “Website theme:” followed by a box showing a blue square and the word “Blue.”  (I’ve cut out a lot of the blank space in the picture below.) Blue is the default color of the Application Catalog.

Customization Tab

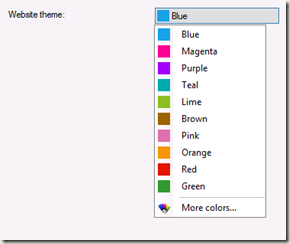
This box is a drop-down selector for other default colors, plus a color palatte for creating a custom color theme.  Click on the box and the drop-down selections shown below will appear.  If you wish to create a custom color, click on “More colors…” at the bottom of the list.  After you have completed selecting a color, click the “Apply” button and then click okay.  The Application Catalog will reflect the selected color upon next being loaded by a client.  (I discuss more about custom colors as well as a useful tool that can be used for that the end of the article.)

Color Palette

Here are the colors in order of selection from the above drop-down menu.

Blue:

Blue

Magenta:

Magenta

Purple:

Purple

Teal:

Teal

Lime:

Lime

Brown:

Brown

Pink:

Pink

Orange:

Orange

Red:

Red

Green:

Green

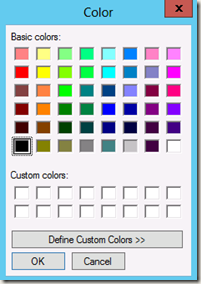
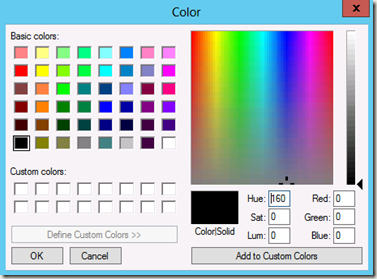
Customizing colors for the Application Catalog utilizes a standard color palette with which you should be familiar.  After selecting “More colors…” from the Website theme drop-down selector, a standard color palette will appear.

Alternative Colors

If none of these alternate colors closely match what you need, clicking on the “Define Custom Colors” button at the bottom will bring up a custom color palette, again, which should be familiar.

Alternative Colors 2

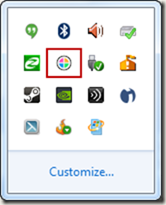
The tool I prefer to use for discovering RGB numbers for corporate colors is a free tool named Instant Eyedropper available from SpiceBrains.  Here is the site for the Instant Eyedropper tool itself.  The download link is in the upper right-hand corner.  After installing this tool, an icon will appear in the system tray (Windows 7 is shown in these examples) as a small color wheel.  I’ve put a red square around the icon in the picture below.

System Tray

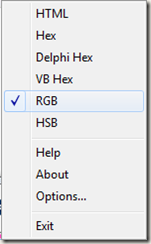
Right-clicking the icon brings up color type selections and options.  For using color palettes as shown above, select the RGB color type.

Instant Eyedropper 01

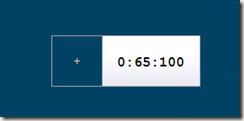
Now that the color type is selected, go back to the system tray, left-click-hold the left mouse button and a color point measurer will appear.  Continue to hold the left mouse button and drag the color point measurer over the color you want to read.  The RGB colors numbers will show and you can then copy these into your custom color palette!

Instant Eyedropper 02

Honestly, this is one of the coolest free tools for graphics that I’ve seen in a long time.  One thing to note – if you have multiple monitors, you must use monitor one.  Dragging the color point measurer to any monitor but monitor one will yield a color of 255 255 255 (black) – not sure why, but it does, so avoid that.  Enjoy!

CM 2012 – Configuration – Custom Client Settings for SUP

A client recently requested preliminary design for moving security updates from WSUS to CM 2012.  There were several requirements for the move as well:  1) SUP would need to be tested on a small group of clients initially;  2) WSUS would need to remain in parallel during the process in order to keep current desktop/laptop clients and servers patched; 3) WSUS would need to remain in place after the move as the server team would continue to use it until their conversion to CM 2012.

I’m only going to focus on how custom client settings were used to segment out the test group from the main body of desktops and laptops.  (There were Group Policy and other adjustments which had to be made as well, but they are not part of this discussion.)

First, I created a test collection to house the initial software updates test group.

CCSSUP01

Current Default Client settings have Software Updates turned off.

CCSSUP02

I created a custom client device setting specifically targeted at software updates.  You can do this by navigating to Administration > [expand] Overview > [expand] Site Configuration > [select] Client Settings, then either right-click on Client Settings and select “Create Custom Client Device Settings” or click the same-named icon in the top ribbon.

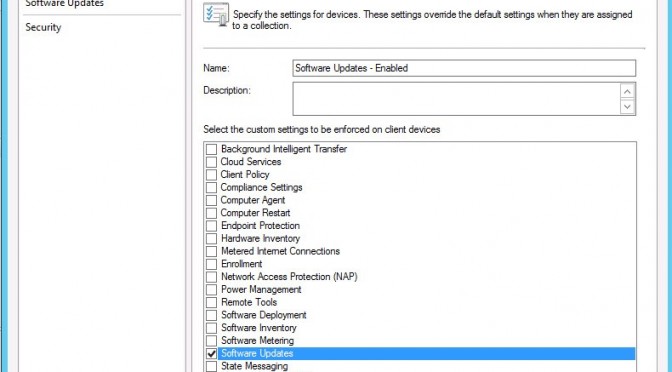
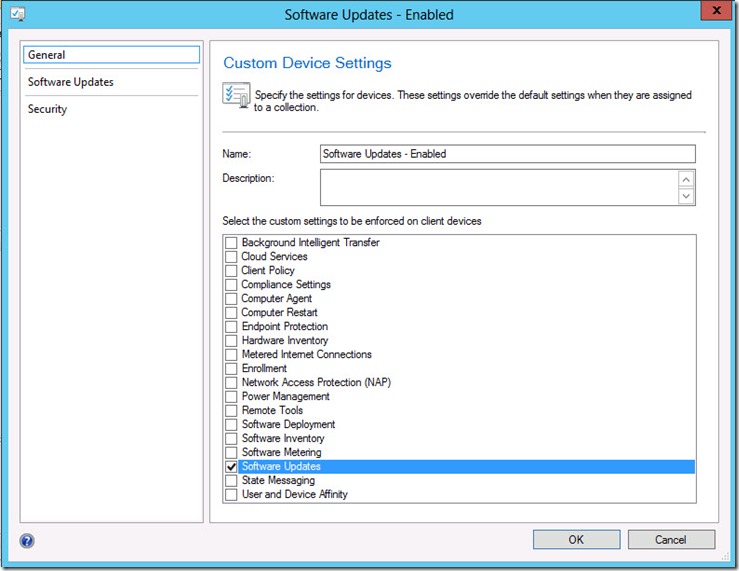
On the General tab of the resulting screen, I named the Custom Device Settings “Software Updates – Enabled” and checked the Software Updates box.  Checking this box reveals the Software Updates tab in the left panel.

CCSSUP03

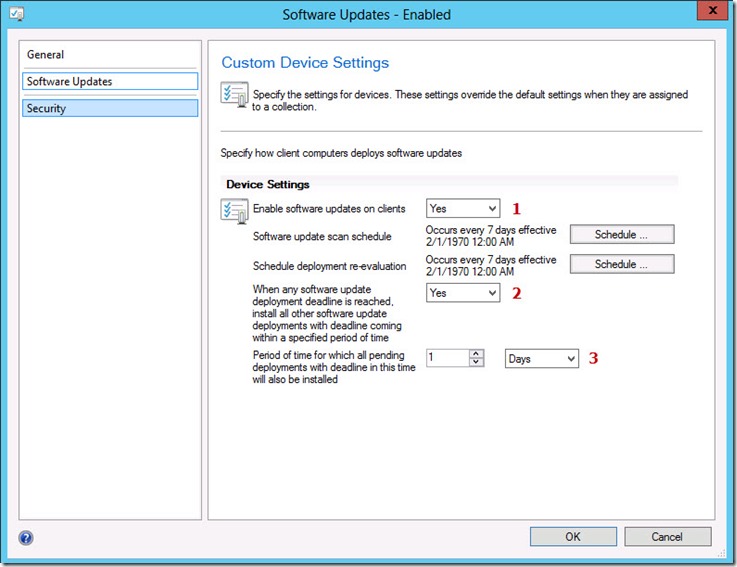
On the Software Updates tab, I enabled software updates on clients (1 in the picture below), set bundling of updates having deadlines within 1 day of any update which has reached its deadline. (2 and 3 in the picture below) Save the custom client setting by clicking OK and then deploy it to the test collection.  I set the priority of the setting to 1.  If this is your first custom setting, it will default to a priority of 1.  You can change the priority of any custom setting by right-clicking on the setting and using the Increase or Decrease Priority selections from the drop-down menu.  Remember that the lower the priority number, the higher the priority in settings application on the client machine.

CCSSUP04

The newly deployed shows up under the deployments tab of the custom settings.

CCSSUP06

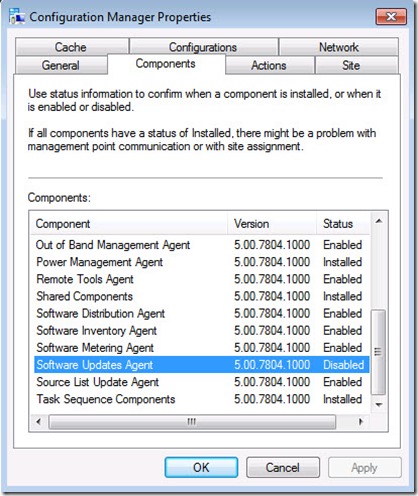
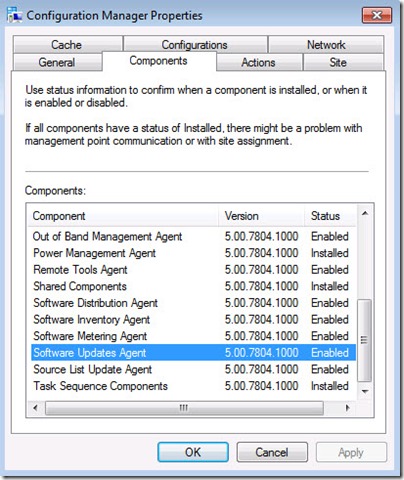
Force a Machine Policy Retrieval & Evaluation Cycle on the machines located in the test collection and the new custom settings will be applied.  You can check this by looking at the Components tab of the Configuration Manager control panel applet.

CCSSUP08

Initiate a Software Updates Scan Cycle on the machines located in the test collection and then spot-check the WUAHandler.log file on those machines to validate that the clients are pointing to the correct SUP server and that the scan is not encountering any errors which need addressing.  You should see something similar to the below entries in the log file.

Enabling WUA Managed server policy to use server: [YOUR SERVER HERE]
Async searching of updates using WUAgent started.
Async searching completed.
Successfully completed scan.

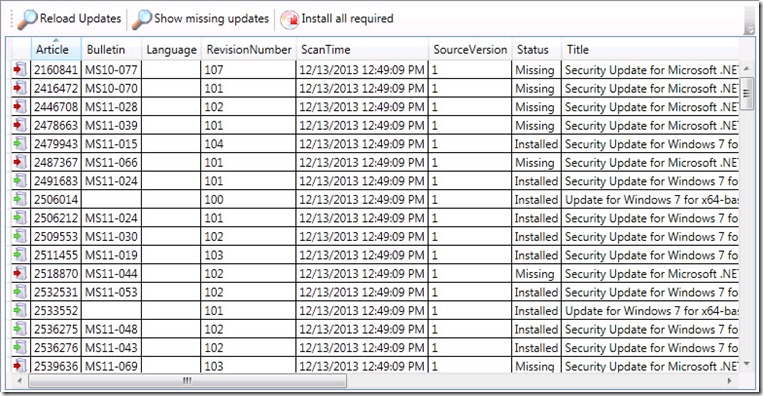
If you feel so inclined, use a tool such as Roger Zanders Client Center to check things out. (http://sccmclictr.codeplex.com/  –  don’t forget to donate!)

CCSSUP10

CM 2012–Configuration – Software Update Point Settings

I’ve had this question posed a number of times, “How do I change the Software Update Point settings after I’ve installed SUP?”  If you’re new to the CM 2012 console, finding where to configure additional settings can be somewhat challenging at times.

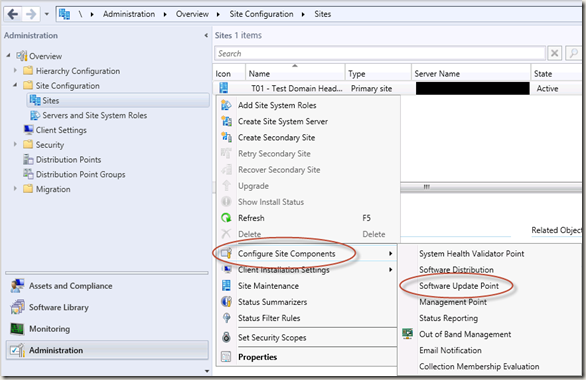
Navigate to Administration > Site Configuration > Sites > the site which has SUP installed
Right-click on the site and select Configure Site Components > Software Update Point

Step 01

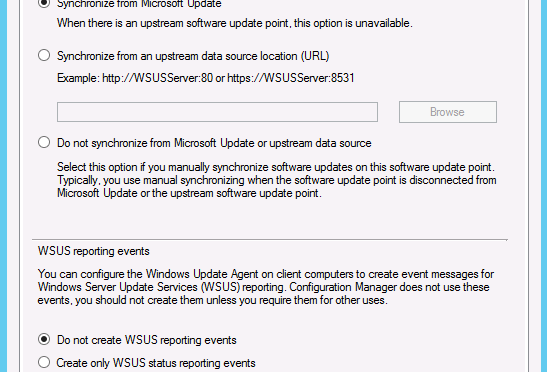
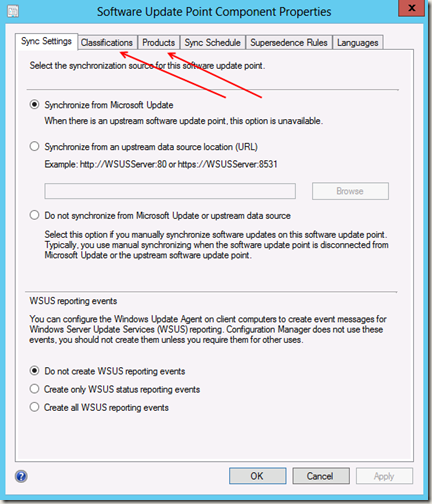
Choose the tab which contains the items you want to configure. In the picture below, I drew arrows to the update classifications tab and the products tab.  When you are finished, click Apply and OK.

Step 02