Category Archives: Composting

Pre-Spring Compositing

Here in Texas the weather is starting to warm up, despite the strange winter we have received this year.  Today was especially crazy with the low overnight at our house being 34 degrees and the high this afternoon being 78 degrees.  CRAZY!

Compost

Being an advocate of using compost as an alternative to chemical fertilizers, I like to start early, preparing my beds for spring planting.  Not only does compost keep our organic waste out of the garbage landfills, but it provides many nutrients for plants, which help keep them healthy.  As we know, plant disease and insect infestation are generally caused by plants which are low in essential nutrients.  Insect infestations of unhealthy plants are nature’s way of ensuring only the healthiest of plants perpetuate the species.

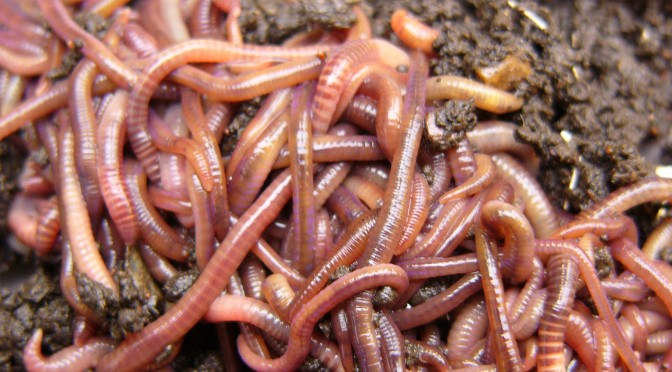
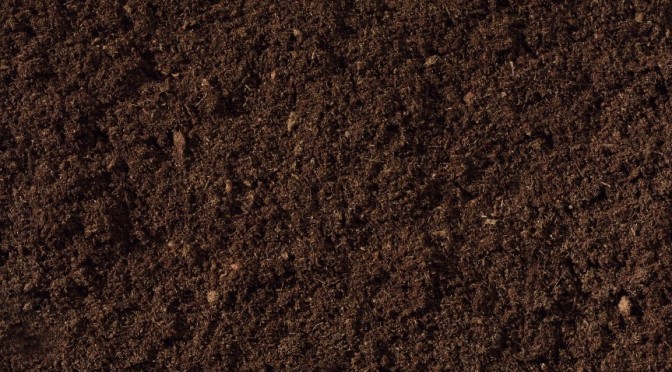
If you must buy compost, please ensure that you are purchasing certified organic compost.  Introducing chemically-laden compost into your organic garden dis counterproductive.  Now is a good time to get a good layer of additional compost in your garden beds.  I know that many people practice hand tilling their soil to get newly-laid compost into the ground, but I prefer to let nature work for me.  Layering compost on top of your mature beds and allowing worms, microbes and other soil inhabitants to mix up the ground is my preferred method.  In my opinion, tilling merely disturbs the microbes in your soil and we don’t want to do that.

Preparing Beds for the Winter

Now that winter is underway here in Texas, I thought I would take some time to write about garden bed preparation for the winter sleep and rejuvenation.

If your area is anything like ours, by the time the temperatures started south, you already had an abundance of the perfect material to work into  and cover your beds… leaves. In Texas, we have a type of tree called a “live oak,” which is an evergreen and an “ever-shedder.” This tree drops leaves periodically throughout the year. If you are diligent with your leave cleanup, you should be stockpiling leaves for winter prep. Here is a nice write-up on live oaks: Live Oak Trees

I am fortunate enough to have several types of trees on property and mulching leaf blower/vacuum, so I am able to create a good amount of organic material for my garden beds. In addition, I have a good friend with three horses who lets me clean up her stalls and bring ample amounts of manure home. Remember, organic matter is essential for building good soil over time. It replenishes nutrients in the soil, helps with microbial beings, and provides good loose composition, which is essential for plant growth.

It is not recommended that you mix leaves into your soil. Decomposition of leaves uses nitrogen, which is one of the nutrients you are trying to replenish while the soil is sleeping over the winter. I am mixing a small amount of leaves into my soil (because I have a heavy clay base), but I am also added a significant amount of manure and compost as well.

When thinking about building soil, think about what happens in nature. On the forest floor, leaves, branches and other organic items sit on top of the soil. As time passes, the bottom layer decomposes, essentially creating new topsoil material. This is the same method you really want to use in winterizing your soil, except you are going to have to replenish the nutrients much faster, since in the south, there is a much shorter winter season.

Once you’ve mixed in the nutrients into your soil, you’ll want to provide a good cover which will shield good bugs, worms and microbes from the winter cold, while at the same time decompose and provide more organic matter. Leaves are the perfect solution and I recommend an initial layer of four inches of leaves at the onset of cold weather. Wet that layer down significantly and allow it to set and shrink over the next three weeks. Add another layer of leaves and rinse and repeat this process until late February.

By the time planting season starts up in late March (or so), your soil will be in great shape!

My good friend, Fall…

Even in the south, my good friend Fall visits and gives me those wonderful cool mornings I can enjoy on the patio, sipping a cup of hot coffee, while watching the sun rise. Today was just one of those mornings, although I was running late for work, so I didn’t get to go outside. There is always tomorrow!

Anyhow, it was a brisk 61 degrees here in Round Rock, with the slightest of fog, so what a nice morning! I will live vicariously through my wife on this one, since I know she’s going to sit outside with her cup.

Also, this is the perfect time of year for fall crops down here. My kale, chards, lettuce, cabbage, and mache are well underway, giving me hope for a decent batch of salad greens before next year. Also, if you haven’t done so, this is just about the last week for planting garlic family plants for a spring harvest. Get those bulbs in the ground now! I have three stages of garlic already growing so I can spread out my needs throughout next spring.

For those of you who forego the fall crop route, now is the time to get your fresh manure worked into your beds so it will compost over the winter and be ready to provide your spring garden with plenty of nutrients. Here is a nice table of nutrients across various manures:

Nitrogen Phosphorus Potassium Calcium Magnesium Organic
matter
Moisture
content
(N) (P2O5) (K2O) (Ca) (Mg)
FRESH
MANURE
% % % % % % %
Cattle 0.5 0.3 0.5 0.3 0.1 16.7 81.3
Sheep 0.9 0.5 0.8 0.2 0.3 30.7 64.8
Poultry 0.9 0.5 0.8 0.4 02 30.7 64.8
Horse 0.5 0.3 0.6 0.3 0.12 7.0 68.8
Swine 0.6 0.5 0.4 0.2 0.03 15.5 77.6
TREATED
DRIED MANURE
% % % % % % %
Cattle 2.0 1.5 2.2 2.9 0.7 69.9 7.9
Sheep 1.9 1.4 2.9 3.3 0.8 53.9 11.4
Poultry 4.5 2.7 1.4 2.9 0.6 58.6 9.2

Personally, I use horse manure for my fall fertilizing and then throw in a cover crop of rye grass to hold in the nutrients. I have a good friend who has horses and doesn’t mind me coming out to clean up stalls every so often. Regardless of what manure you use, I would highly suggest using a cover crop over the winter and turning it in when it flowers, before it goes to seed.

I’m looking forward to the next few months.

Congratulations! It’s worms!

About six months ago, I set up two composting tumblers, one which I populated with red wrigglers and one which I did not. I was experimenting to see if the stories were true about worms eating up your garbage and producing “black gold” for your garden. Needless to say, I put equal amounts of green and brown materials in each. (It wouldn’t be a proper experiment without consistency between control groups, now would it?) And finally, I put my newly purchased red wrigglers into one tumbler.

Over time, I was pleasantly surprised to watch my “reddies” reduce my garbage, clippings and leaves into some nicely smelling, nom nom garden food. They consistently grew in size so I figured I was feeding them appropriately. And, I’ve continued to leave the one tumbler without worms just to see how slowly the process works – it’s slow.

Anyhow, a couple weeks ago, I was turning both composters and then checked in on my “reddies” to see how they were doing. As is normal for me, I reached down for a handful of nom nom goodness for a quick see and smell. (There is nothing like the smell of really healthy compost – after it’s done of course…) When I began breaking apart the clumps, lo and behold, I discovered I was a daddy! I could not count how many little “reddies” were in my hand there were so many.

I kept digging through various parts of my tumbler, only to find more and more baby worms. I’ve read that red wrigglers were prolific breeders, but I wouldn’t have imagined I would have gotten this many out of the single pound of worms I purchased. I highly recommend getting some for your compost pile!

Because I have so many worms now, and since I have observed the effects of composting without them eating away, I’ve moved several batches of them into my other tumbler and loaded it up appropriately to hopefully duplicate my fortune. FUN!